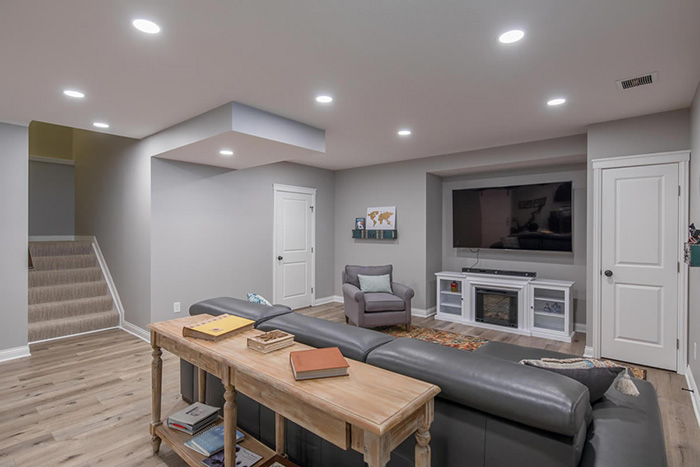
Finishing a basement can transform an underutilized space into a functional and inviting area. Here’s a step-by-step guide to help you get started:
- Prepare:
- Clean – Clear the basement area and thoroughly clean it. Remove furniture and stored items.
- Test for Moisture – Use a moisture meter to check for high moisture levels. Address any issues to prevent mold or structural damage.
- Choose a Layout – Assess your needs (home office, playroom, gym, entertainment area) and create a detailed floor layout.
- Get Permits – Obtain necessary permits (building, electrical, plumbing) from your local building department.
- Finish the Walls:
- Drywall – Consider using drywall for affordability and versatility. Follow steps for hanging drywall.
- Insulate – Properly insulate basement walls to prevent heat loss.
- Finish the Floors:
- Flooring Options – Choose from tile, vinyl, wood, or carpet. Consider durability and aesthetics.
- Sub floor – Install a sub floor to create a level surface.
- Finish the Ceiling:
- Ceiling Tiles – Use drop ceiling tiles for easy installation and access to utilities.
- Drywall Ceiling – Install drywall on the ceiling for a seamless look.
- Lighting and Electrical:
- Light Fixtures – Plan for task lighting, ambient lighting, and decorative fixtures.
- Electrical Outlets – Add sufficient outlets for convenience.
- Heating and Cooling:
- HVAC – Extend heating and cooling to the finished basement.
- Insulate Pipes – Insulate exposed pipes to prevent condensation.
- Flooring and Trim:
- Flooring Installation – Install your chosen flooring material.
- Baseboards and Trim – Add baseboards and trim for a polished look.
Remember to work with professionals for technical aspects like plumbing and electrical. With proper planning and execution, your finished basement can become a valuable addition to your home!